
LAS VEGAS · CRATING GUIDE
Custom Trade Show Crates for Las Vegas Exhibits
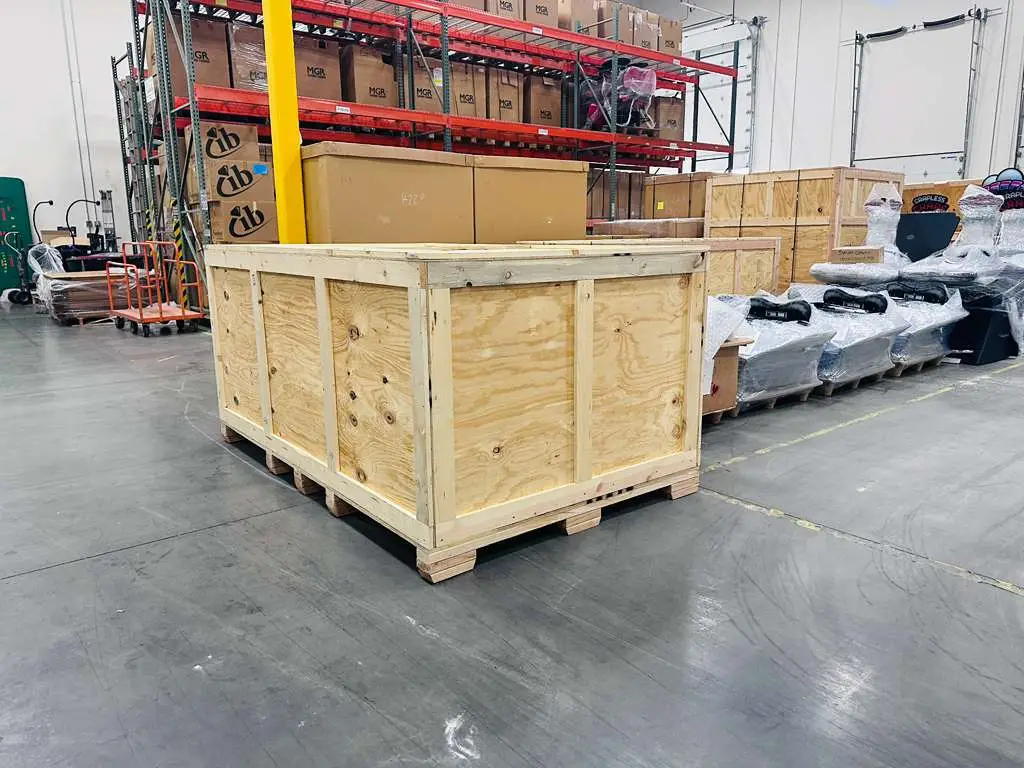
A trade show crate needs to protect the exhibit on the road and help the booth team work at the venue. For Las Vegas exhibitors, that means planning around delicate display pieces, setup access, organized packing and the return shipment. A crate designed around those needs can remain useful beyond a single event.
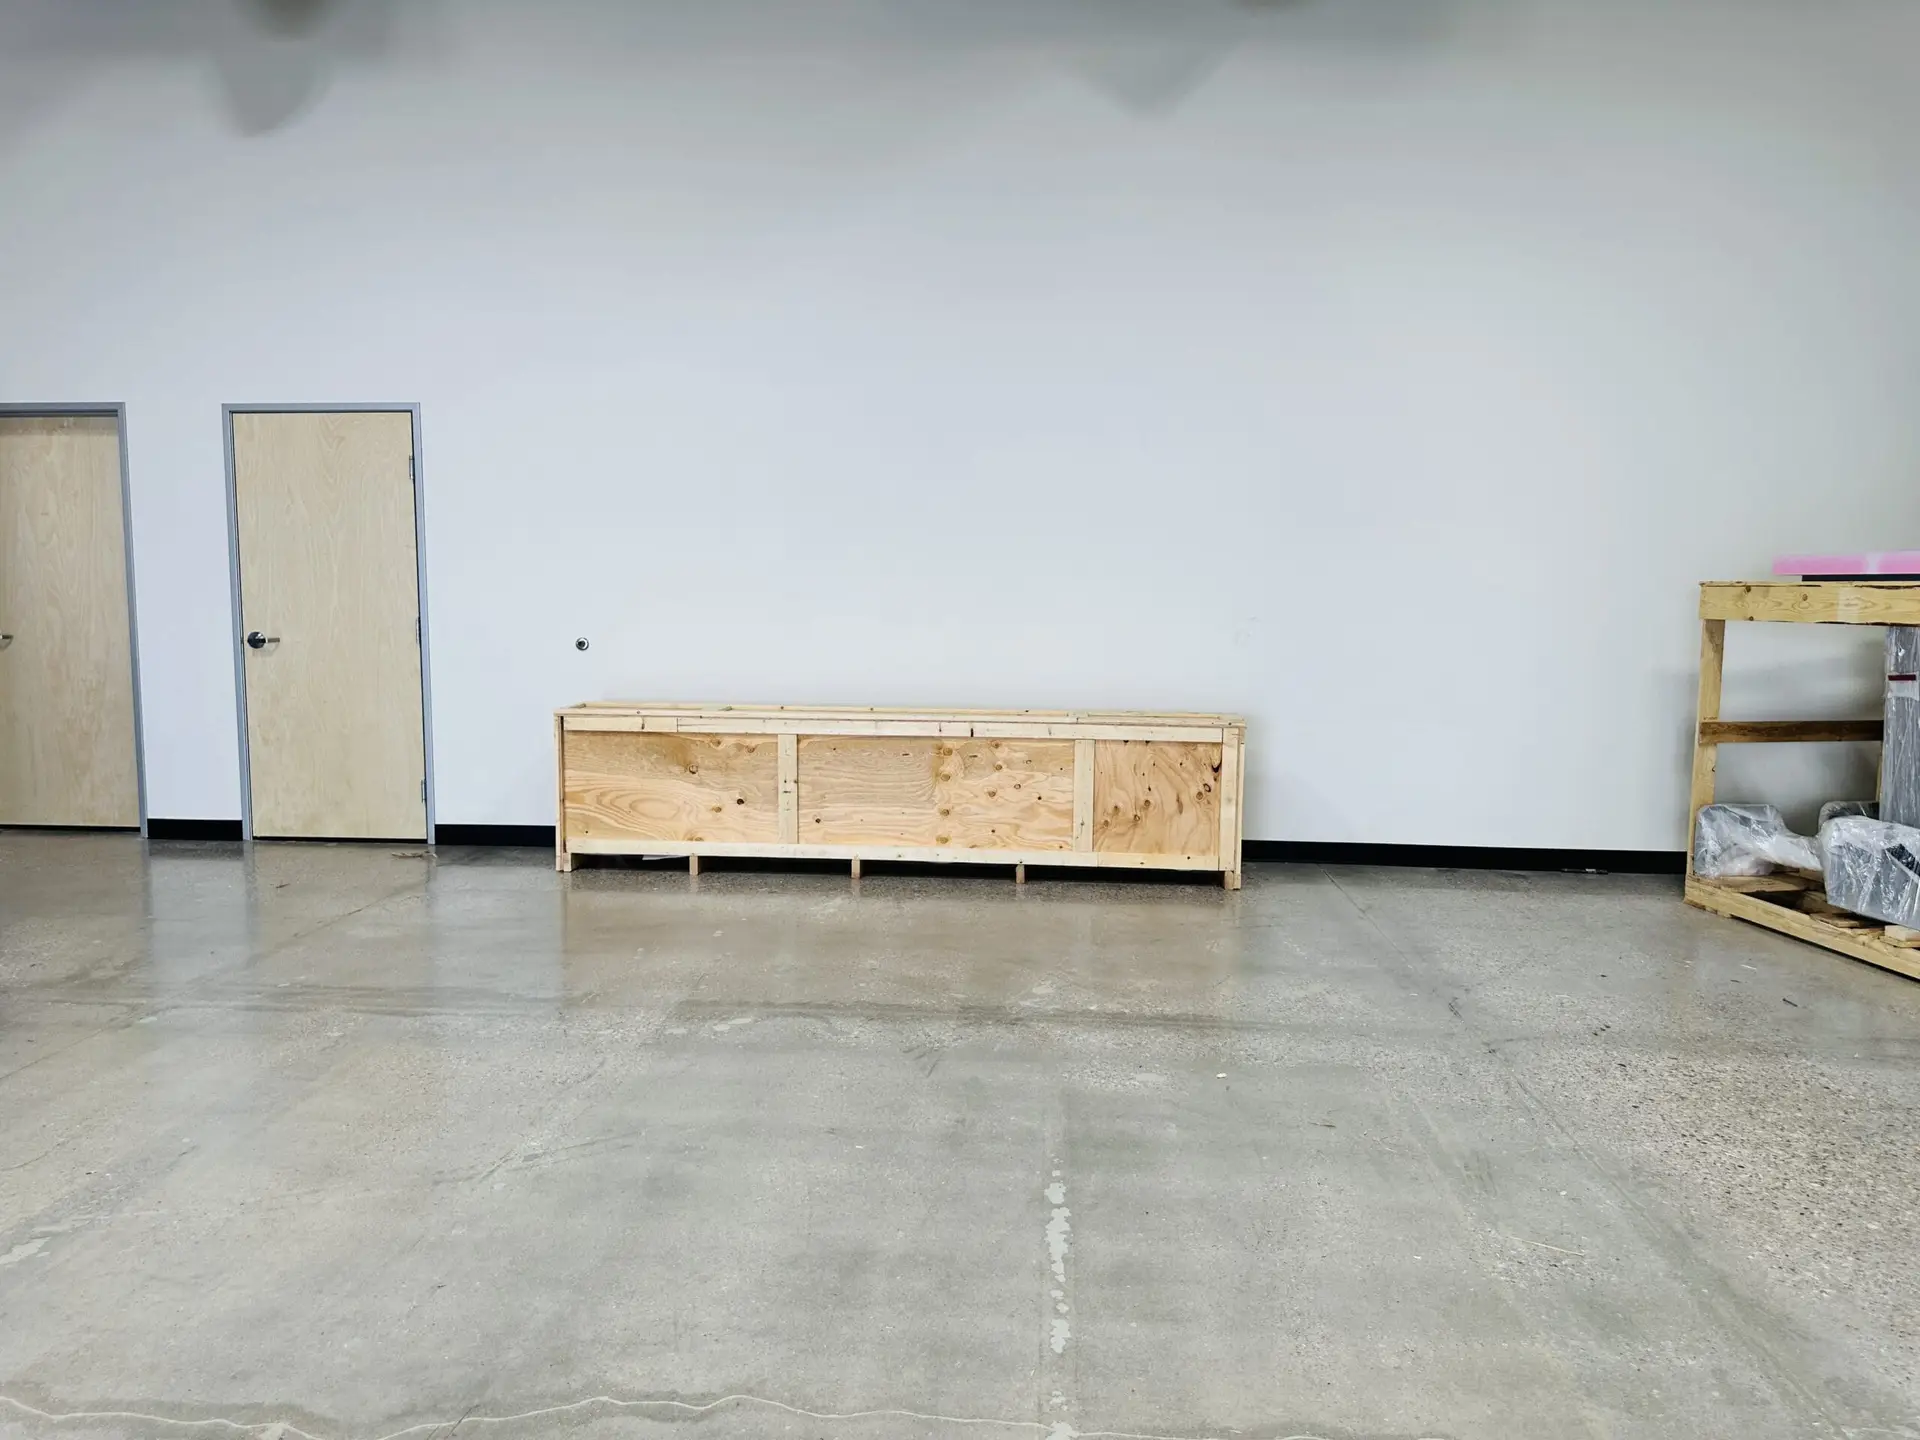
Begin with an inventory of everything that travels: displays, screens, product samples, furniture, hardware and accessories. The crate design should reflect both how those items are protected and the order in which the team needs them.
Protect the parts most vulnerable in transit
Exhibit materials often combine fragile finishes with heavy or awkward components. A display frame may need structural support while a screen or finished panel needs separation from pressure and abrasion. Packing them together without a plan can allow the heavier parts to damage the more delicate ones.
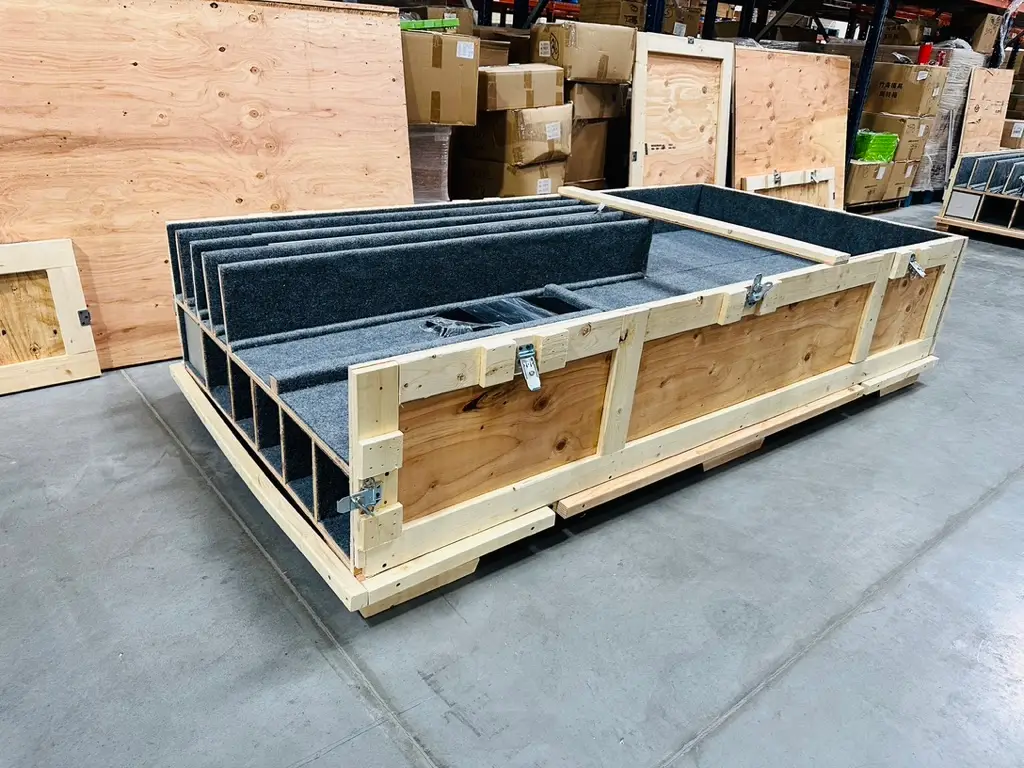
Discuss suitable restraints, dividers and cushioning for each component. The goal is controlled support rather than a tight fit against every surface. Keep connectors, projecting trim and other vulnerable details clear of loads and pressure.
Design around the complete exhibit inventory
Measure the items in their shipping configuration, including protruding fittings and protective layers. A crate that accommodates the largest display but leaves no suitable location for its hardware is incomplete. Separate compartments can make small components easier to find and reduce contact between pieces.
- Give each component a clear name or inventory number.
- Identify removable parts and the person responsible for disassembly.
- Pack heavy components where the design can support them.
- Allow enough space for the required protection and safe removal.
- Keep an inventory and packing diagram available to the booth team.
Make setup and breakdown easier to follow
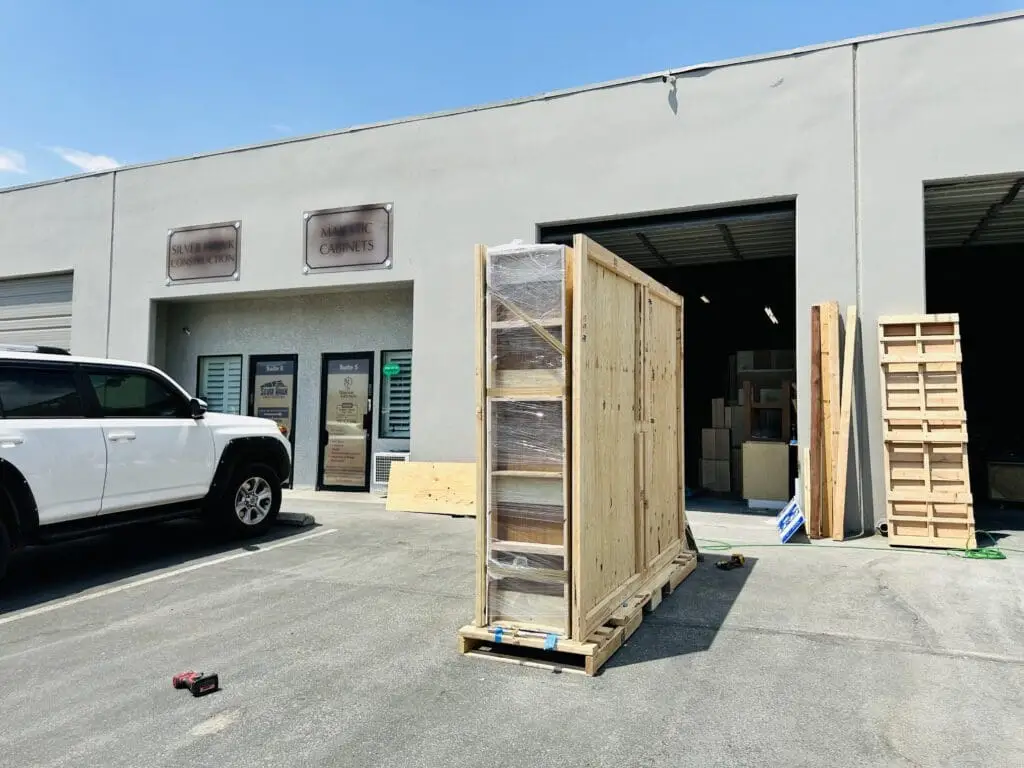
Access features should suit the exhibit and available handling equipment. Ask whether removable panels, reusable fasteners or other access arrangements make sense for your shipment. Wheels and lifting provisions need to be appropriate for the load and route; they should not be assumed to be included.
Label the opening side and provide a clear unpacking sequence. Photograph the packed arrangement before departure so the return crew has a reference. Keep fasteners and reusable inserts together, and identify any tools required to close the crate again.
Check the event's current exhibitor instructions for delivery windows, labeling, empty-crate storage and outbound procedures. A well-designed crate helps with preparation, but venue handling and show deadlines still need their own coordination.
Plan for repeat shipments
If the same display will attend several events, discuss reuse at the design stage. Repeated opening, handling and storage can wear out fasteners, panels and cushioning. The crate should be inspected before each journey rather than assumed safe because it survived the previous one.
Compare the initial crate cost with the expected number of trips, return freight, storage space and repairs. Reuse can make sense for a stable exhibit, while a changing display may require a revised insert or an entirely different package.
Use clear identification and restrained branding
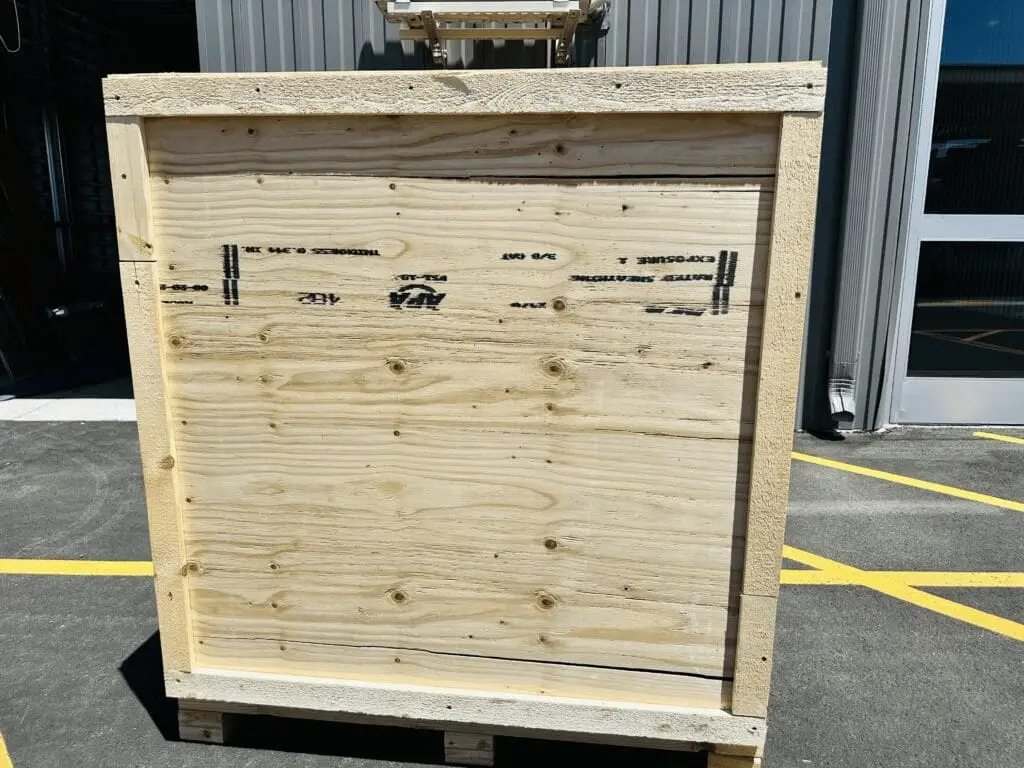
Branding can help your team recognize its equipment, but operational information matters first. Crate numbers, a packing list and readable handling instructions are more useful than decoration when a crew is working under time pressure.
Keep venue-required shipping labels unobstructed. Discuss whether visible branding is appropriate for the contents and the route, and avoid labels that advertise valuable cargo unnecessarily. Good organization supports a professional presentation without promising that packaging alone will improve a brand's reputation.
PLAN YOUR CRATING
Discuss your next exhibit shipment
Send Crates of Las Vegas your exhibit inventory, item measurements, event destination and expected reuse plans. Include setup and return-shipping needs so the crate can be planned around the full event cycle.
Discuss your crating projectMORE CRATING GUIDES